
Running Scripts
While the Altium NEXUS Scripting system provides the means to create sophisticated automated tasks for Altium NEXUS, the resulting scripts also need to be easily accessible during the design process. For example, a script created to perform a complex set of operations while editing a PCB should be readily available in the PCB Editor itself, where it can be executed with a mouse click or two.
Altium NEXUS caters for this need by allowing a script to be assigned to a process launcher, and thereby a command that can be assigned to a Menu, Toolbar and Shortcut.
Executing scripts
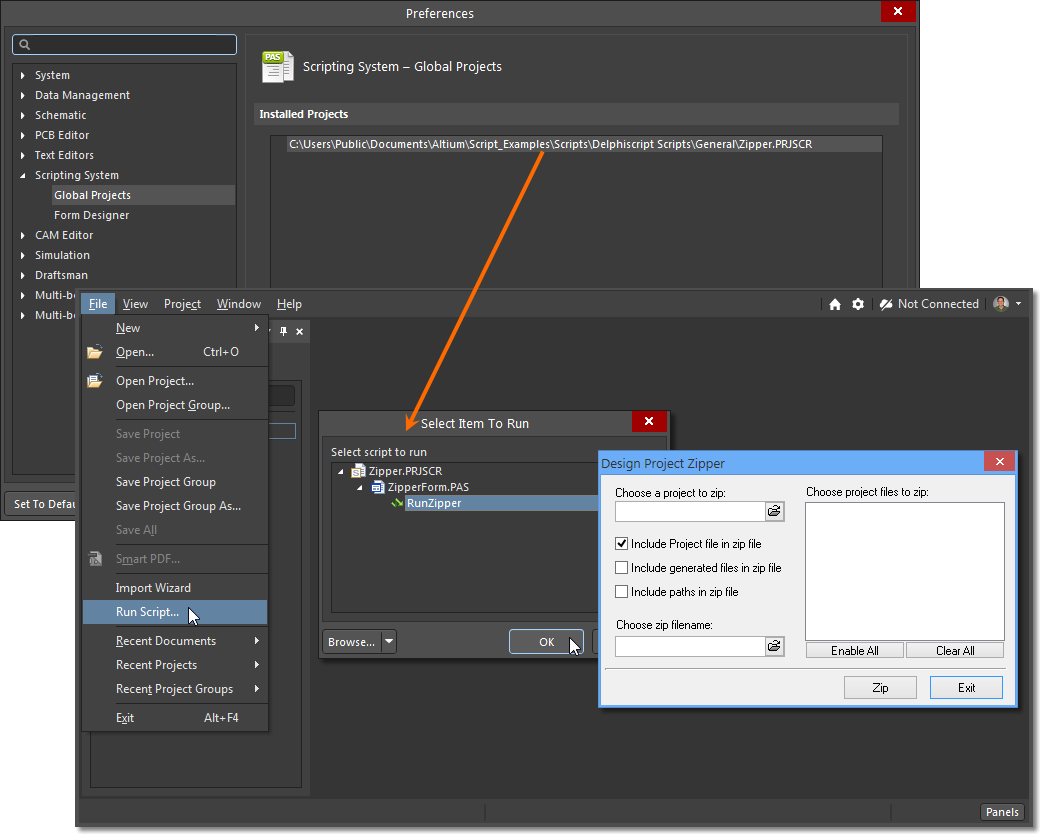
To briefly recap, when open in the script editor, a script can be executed using the editor's Run command. This requires the script project to be open in Altium NEXUS, which is not a convenient approach to accessing a script needed during the PCB design process, for example. Alternatively, the Select Item To Run dialog (File » Run Script) allows you to browse to a script on your local hard drive or a connected Altium Server then run the desired process. The script remains loaded for the current session.
 Executing a script using the script process launcher via the Select Item to Run dialog.
A more suitable method to access a frequently used script is to install the project as a Global Project from the Scripting System – Global Projects page of the Preferences dialog. In this case the project is automatically loaded when Altium NEXUS starts, and can be executed at any time via the File » Run Script command.
The ideal way to access a script's functionality however, is where it is integrated into Altium NEXUS's GUI as a menu or toolbar command. This is normally a two-step process; implementing a script as a Command (with optional shortcut), then assigning the Command to a Menu (static or pop-up) or a Toolbar.
Script as a Command
A script can be implemented as an application command by harnessing Altium NEXUS's built-in server processes, or more specifically, the ScriptingSystem:RunScript process.
A command represents a performed action and is supported by a process string via a packaged process launcher. In the case of the ScriptingSystem:RunScript process, it includes parameters for pointing to a specific script project file, a constituent script file (*.pas) and a process within that script. When suitably arranged, these elements constitute a command string.
The advantage of this approach is that running the script as a process avoids the need to directly open the script or have it loaded as a Global Project. The second and more significant advantage of using the process method to run a script is that it can be implemented as an accessible Altium NEXUS command. This is done by customizing Altium NEXUS's menu system, where a script can be assigned to a command for a nominated server – that is, a sub-application such as the file system or a design document editor.
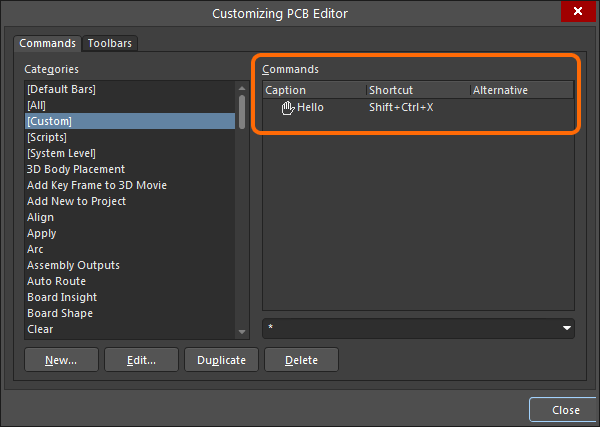
Create a Command
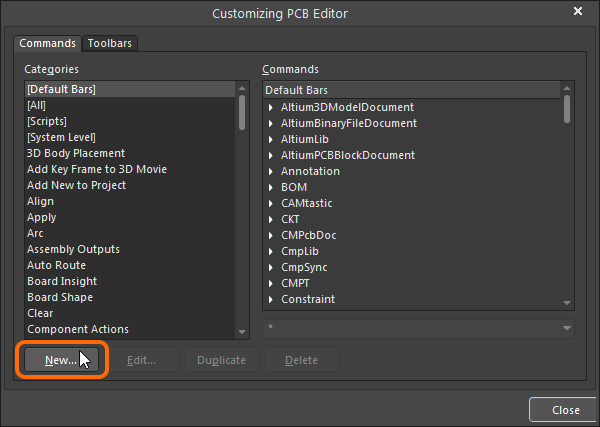
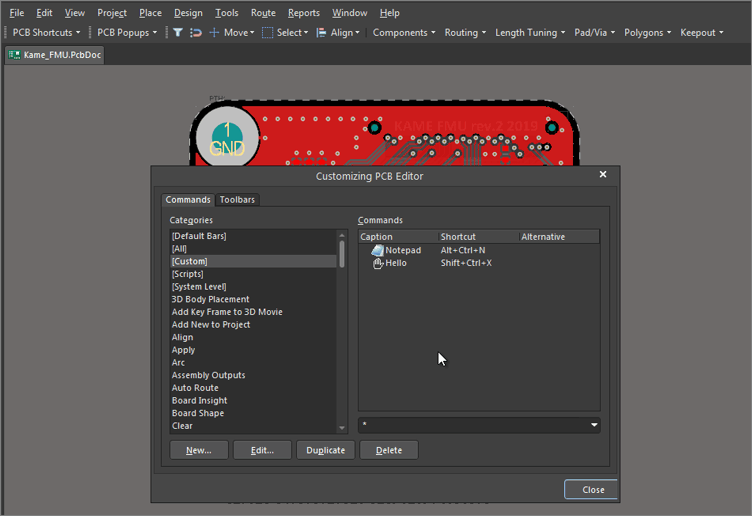
To assign the HelloWorld script as a command for the PCB editor for example, first open a PCB document (and hence the editor) and select View » Tools » Customize from the main menu to open the Customizing PCB Editor dialog. The dialog also can be accessed by right-clicking on a menu bar or toolbar then choosing Customize from the drop-down menu or by double-clicking in a blank area (away from any commands) of a menu bar or toolbar.
To create a new command, click the dialog's New button to open the Edit Command dialog where the server process and script path details can be included – ensure that the [Scripts] category is not selected when creating a command from a script. The dialog's Action entries take the form:
Process: ScriptingSystem:RunScript
Parameters: ProjectName|ProcName>Process
Depending on the source path to the script, the Parameters string would be similar to:
ProjectName=C:\Users\Public\Documents\Altium\Delphiscript Scripts\General\HelloWorld.PRJSCR|ProcName=HelloWorld.pas>HelloWorld
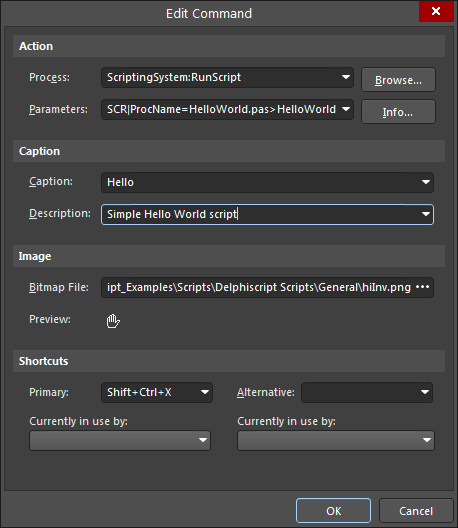
The dialog also provides entry fields for a command caption, description, shortcut and associated bitmap image (BMP/GIF/PNG; 18 x 18 pixels). These settings are saved with the command and apply to all instances where it is inserted in menus, toolbars and pop-ups – as described in the Assigning Menu Commands section below.
 See example image
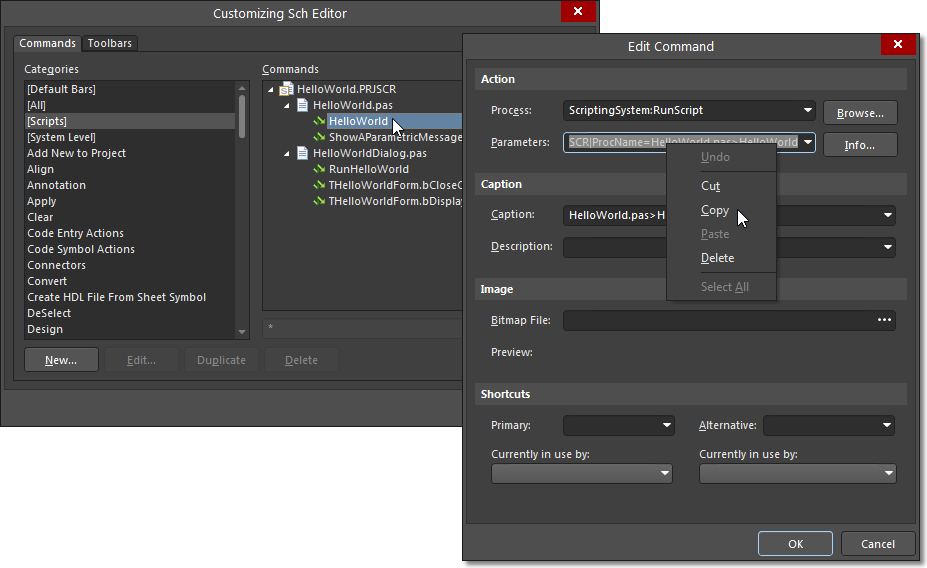
With the details complete and the edit dialog dismissed (  ), the HelloWorld script becomes available as a Custom command (under
 [Custom]) for the PCB Editor.
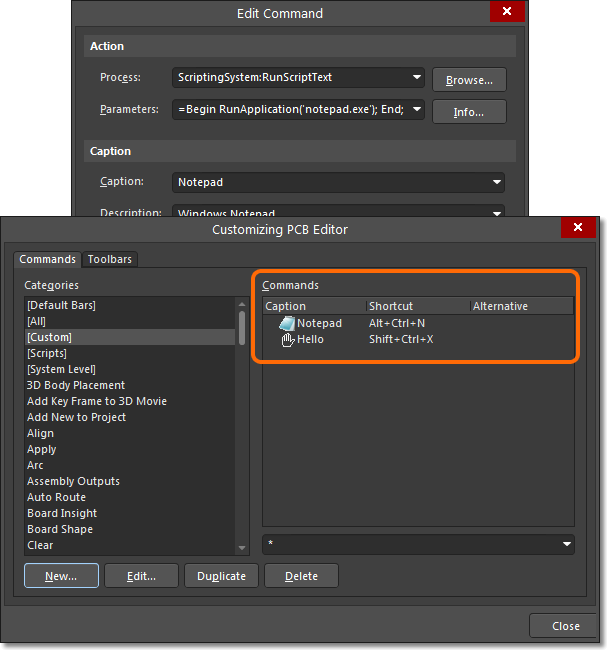
External Application Command
An external application such as the Microsoft Notepad can be launched from Altium NEXUS through software control. In this case the command process and parameters entries would be:
Process: ScriptingSystem:RunScriptText
Parameters: Text=Begin RunApplication('notepad.exe'); End;
The software process in this case, ScriptingSystem:RunScriptText, is literally running a sequence of script statements, rather than opening and running a specific script file as outlined above.
The alternative approach is to create a script with a few equivalent lines of code, then create a conventional ScriptingSystem:RunScript command entry.
Procedure RunNotepad;
Begin
    RunApplication('notepad.exe');
End;
Note that for both approaches to implementing the external Notepad command it is sufficient to just enter 'notepad.exe' as the parameter for RunApplication, rather than specify the application's full path and filename. Windows applications such as Calculator and Notepad have their paths already specified by the operating system.
To launch an application from Altium NEXUS that does not have an inherent Windows path, the application's full path and filename need to be specified (in single quotes, to cater for any white space in the path). So to launch a second copy of Altium NEXUS for example, the RunApplication process and parameters would be:
RunApplication('C:\Program Files\Altium\xx\X2.EXE') – where xx represents Altium NEXUS version folder name.
Assigning Menu Commands
With a script implemented as a custom server command via Altium NEXUS's Customizing function (View » Toolbars » Customize) as detailed above, it can be assigned to the server GUI by a simple drag and drop process.
► See also Customizing the Design Space
Toolbars
To assign a custom command to the PCB editor's main menu or Toolbar menu for example, open the Customizing PCB Editor dialog, locate the custom command and drag it to the desired menu location. Note that a PCB document needs to be open to provide access to the PCB editor menus. With the customizing dialog closed, the new menu command can be accessed at any time in the PCB editor.

A custom command can be dragged to the required menu location.
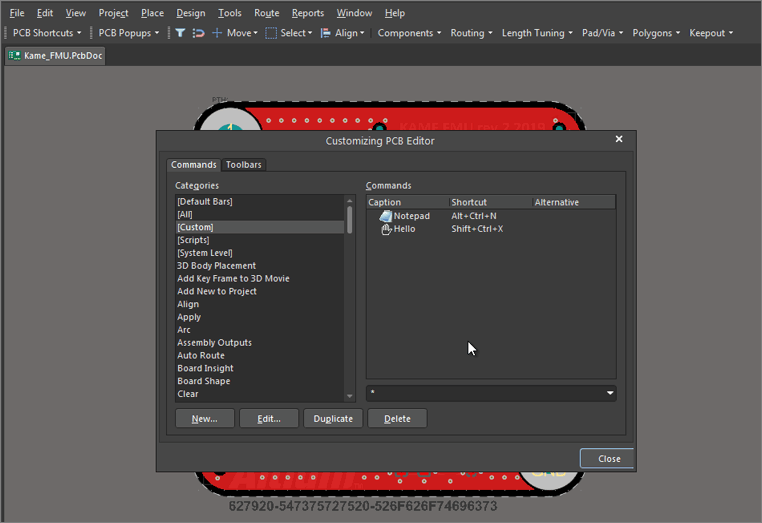
Since the new custom command has been assigned to the PCB Active Bar in this example, it can be seen under the PCB Active Bar command category in the Customizing PCB Editor dialog.

When assigned to a menu, the custom script command will appear under that menu's category in the customizing dialog.
To remove a command from a menu, open the custom dialog then drag the menu command icon back into the dialog.

Removing a command assigned to the Toolbar.
Menus
A custom command can be assigned to a menu, at any menu depth, using the same drag and drop process described above.
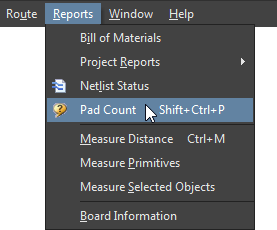
When the server is in customizing mode the menus remain responsive to the mouse pointer, and will expand and contract accordingly. To place a command into the PCB editor's Reports menu for example, drag the command into the menu and down the list where it can be dropped in a suitable position. With the customizing dialog closed, the new menu command – here, Notepad – can be accessed from within the Reports menu.

Active menus during customization allow a custom command to be dragged into a drop-down menu.
Pop-up Menu
A command can be assigned to a right-click pop-up menu in the same way as described above, with no restriction imposed by the sub-menu depth.
In this example the command is dragged through the menu path of PCB Popups » Right Mouse Click Free Space and dropped in the sub-menu as shown below. As assigned, the custom Notepad script command becomes available in the PCB editor when right-clicking in free space.

A custom command assigned to a right-click sub-menu
Direct Script Assignment
As an alternative to creating a reusable custom command from a script then assigning it to a menu, a script can be directly applied to a menu as a quick, one-off approach.
This bypasses the creation of a custom command step by directly assigning a loaded script to a menu. Without the existence of a matching custom command, which can be applied as a fully configured command to multiple menus, this direct method is a singular solution for script menu access. As such, the various command settings, such as its Caption, Description, Image and Shortcuts only apply to the assigned instance.
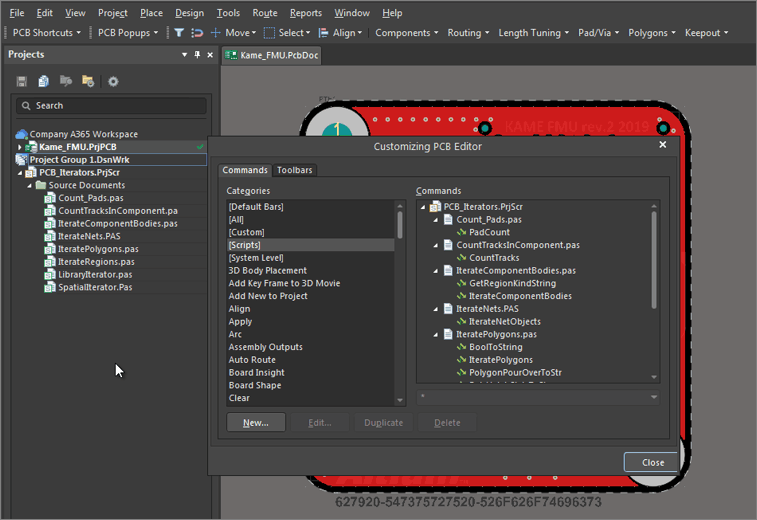
To assign a script directly to a menu, load the script project, open the server's Customizing dialog (View » Toolbars » Customize), select [Scripts] in the Categories list, locate the desired script and drag it to a menu position. Click to dismiss the Edit Command dialog.

A script, rather than a command, can also be assigned directly to a menu.
As with all menu placements, if the new menu item is still at its default settings (caption name, shortcut etc), these can be corrected by right-clicking on the menu entry and selecting Edit from the submenu. This opens the Edit Command dialog where suitable settings can be entered.

In Customizing mode, right click on a menu to access its parameters.
Once configured, the new menu will be available at design time without further need to explicitly load the script project or install it as a Global Project.
Note that this approach to applying a script to a menu automatically creates the required command. This is not a re-assignable custom, fully configured command as described in the above methods, but a command created for that direct menu entry.
This can be observed in the actual menu category entry in the Customizing dialog. For the above example, the individually configured command can be seen in the Reports category in the Customizing PCB Editor dialog.

When directly applying a script to a menu, the matching command is created for just that menu entry.