
Overview & Setup of the Scripting System
The Altium NEXUS scripting system provides all the tools and features needed to create scripts that automate tasks in the software.
The script editor, debugger, and scripting panels work together to help you write and debug your scripts easily. A script can be run directly from the script editor or assigned to a menu, toolbar, or hotkey so that it can be applied to the current document – such as a PCB Layout – at any time.

Altium NEXUS showing Script Code and Form windows with the Object Inspector, Code Explorer, and Tool Palette panels.
Scripting System Features
The scripting system is composed of two main parts – the editor and the debugger. The main features are as follows:
-
Project access – Scripts can be saved in a script or design project. Routines from any script in a project are accessible to other scripts within the same project.
-
Scripting Editor – The scripting editor features a dedicated text editor with a range of options to set up the editing environment and syntax coloring.
-
Scripting Panels – The scripting system features a number of panels that help you code and debug scripts quickly.
-
Scripting Debugger – If a script has an error when it is being executed, a dialog appears with a concise error message. You have the ability to preview variables in the Watches window, trace code and control the execution of the script with the Script Debugger.
-
Scripting Languages – Scripts can be created in DelphiScript and if enabled as a legacy language, VBScript.
Script Units and Forms
Script Projects support two script document types – Script Units and Script Forms. Script Units allow you to write standalone procedures and functions. Script Forms allow you to build dialogs with controls and event handlers, as well as procedures and functions.
- A Script Form is a visual form unit that is supported by the script. When a form is active, it represents a dialog window.
- A Script Form has two views – the Script Code view and the Script Form view. The Script Code view contains event handlers and procedures/functions. The Script Form view represents a dialog form (of different types) and has controls along with their associated event handlers.
- A Script Form has two associated files. A
*.pasfile that contains has event handlers and procedures/functions, and a*.dfmfile that has details of the script form itself along with its components and their locations. - A component is a visual or non-visual control object (placed from the Tool Palette panel) that accepts input from a user, such as a mouse click or a sequence of entered characters. During design, the Object Inspector panel can be used to manipulate components on a Script Form. The components can be used in any Script Form in any language set supported by the Scripting system.
- A component (control object) has methods, properties, and events that can be used by a Script Form.
- Methods are the actions an object can perform.
- Properties represent the data contained in the object that can be accessed or modified.
- Events are conditions a component on a Script Form can react to.
- A Script Form has event handlers that process captured conditions, such as when a form button is clicked.
Altium NEXUS Script Examples
Example and reference scripts are a helpful resource for understanding how object interfaces, methods, processes, properties, and components are applied in scripts. They can also be used as the basis for your own script projects.
Running an Example
To quickly run a script example in Altium NEXUS, first open an example project or an individual script file from one of the example script folders – for example, the simple 'Hello World' project (HelloWorld.PRJSCR) from the Scripts\Delphiscript Scripts\General folder.

The DelphiScript Hello World project open in the Projects panel.
The project contains two versions of the 'Hello World' script, where the second (HelloWorlDialog.pas) demonstrates the basic use of a Form unit. Double-click a script name to open and inspect the script in the editor – note that a script can be run without it being open in the editor.
To run one of the scripts, select File » Run Script from the main menus, then choose an available script procedure from the Select Item To Run dialog. When a version is run, a dialog will open to display the message.
 The quick and simple way to run an example script.
Scripting System Setup
Preferences
The default preferences settings for the scripting system can be configured in the Preferences dialog, which is accessed by clicking on the  control button at the top-right of the workspace.
General Preferences
The Text Editors – General page of the Preferences dialog allows you to set up your script editing requirements, such as the string search behavior, how lines are tabbed and indented, how keys are mapped, and a number of other advanced options.
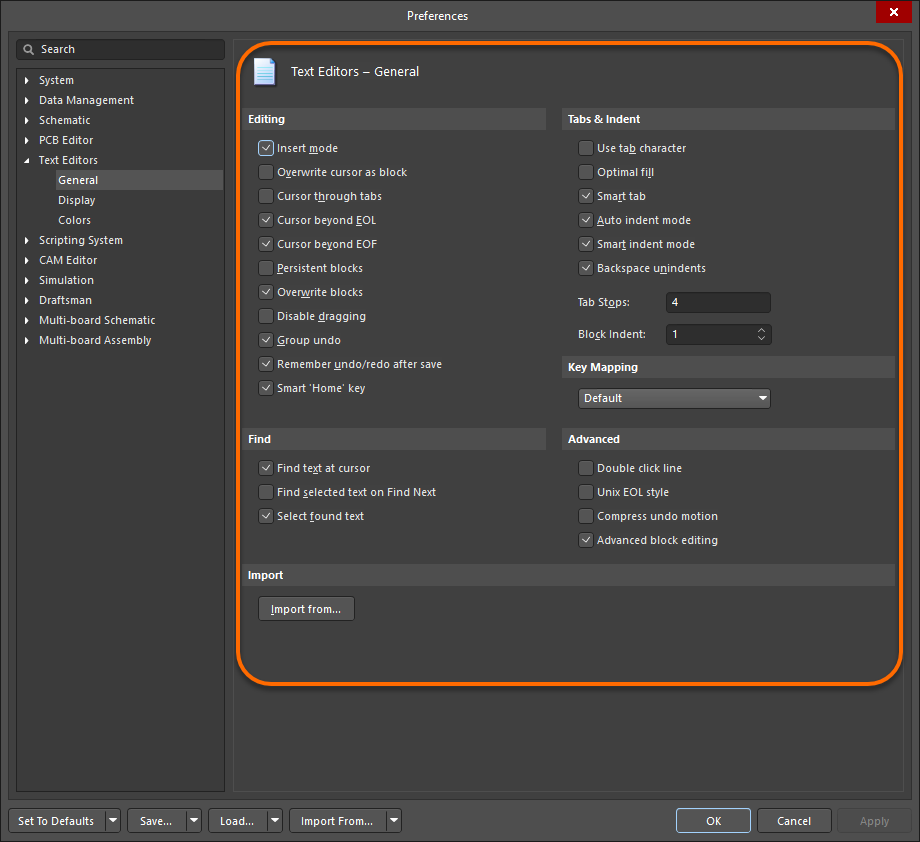
The Text Editors – General page of the Preferences dialog
Color Preferences
The Text Editors – Colors page of the Preferences dialog allows you to configure the Script Editor's syntax coloring for the scripting language of your choice, and set up the color of the elements within the script editor. For example, black for the background, white for the comment keywords, and so on.

The Text Editors – Colors page of the Preferences dialog
Display Preferences
The Text Editors – Display page of the Preferences dialog allows you to configure the visual features of scripts, such as displaying right margins and line numbers, syntax highlighting and code outlining.

The Text Editors – Display page of the Preferences dialog
Global Projects Preferences
The Scripting System – Global Projects page of the Preferences dialog list script projects that are available (installed). Script projects can be installed, removed, or reordered.

The Scripting System – Global Projects page of the Preferences dialog
Form Designer Preferences
The Scripting System – Form Designer page of the Preferences dialog provides the grid and component designator options for a scripting form document.

The Scripting System – Form Designer page of the Preferences dialog