
KB: Git Error "Failed to write chunk header" when saving to workspace
Solution Details
Error Message and Impact
When committing a project to the workspace, the following error may appear:
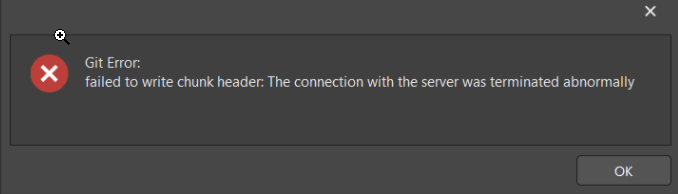
This prevents changes from being saved to the workspace.
Root Cause of the Error
This issue typically occurs due to one of the following reasons:
- A top-level .git folder exists in a parent directory outside the actual project directory.
- An outdated or hidden WinHTTP proxy configuration is interfering with Git operations.
Available Solutions
- WinHTTP Reset
- Git Folder on Parent Directory
- Fresh Checkout
WinHTTP Reset
This error may be triggered by a hidden or outdated proxy configuration in the system's WinHTTP settings. To check and reset the proxy:
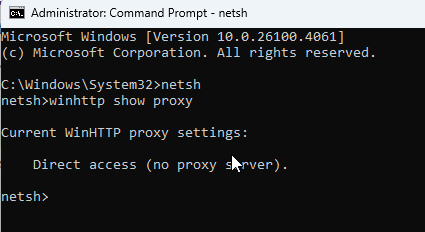
- Open Command Prompt with administrator rights.
- Type netsh and press Enter.
- At the
netsh>prompt, type winhttp show proxy to view the current proxy configuration. - If a proxy is listed, type netsh winhttp reset proxy to clear it.
Git Folder on Parent Directory
Check whether any .git folders exist outside the project directory. For example, if the project is located at: C:\Documents\Altium\Project_A
The .git folder should only exist inside Project_A. If a .git folder is present in Documents, Altium, or directly in C:\, Git may treat it as a parent repository, causing conflicts.
Fresh Checkout
If the issue persists, perform a fresh checkout of the project:
- Go to File » Open Project.
- Choose Workspace.
- Select the project and click the dropdown next to the Open button.
- Choose a custom checkout path and select Create a second copy.
- Copy modified files from the original directory to the new checkout folder, replacing existing files.
- Open the project from the new folder in Altium Designer.
- Commit and push the files one by one.
Refer to Opening Projects in Altium Designer for more details.
Enable Auto Reload
Ensure that Auto reload is enabled for modified files:
- Go to Preferences » System » General.
- Enable Reload Documents Modified Outside of Altium Designer.
IT Team Help
If none of the above steps resolve the issue, contact your IT team to investigate potential proxy or antivirus interference.