
KB: 管理されたプロジェクト名とローカルコピー名を変更する
ソリューションの詳細
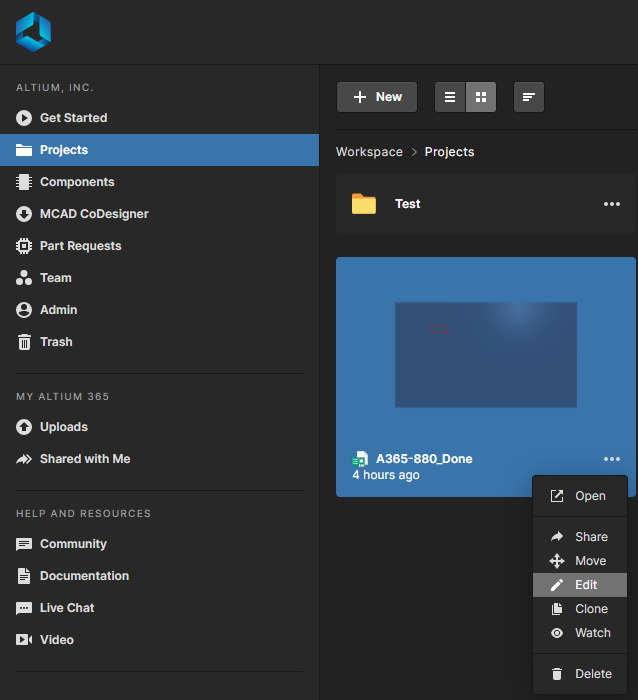
既存のマネージドプロジェクトの名前変更は簡単です。対応しているウェブブラウザで Altium 365 Workspace にアクセスし、[Projects] セクションに移動します。編集したいマネージドプロジェクトを見つけ、プロジェクト名の横にある省略記号ボタン  をクリックし、[Edit] を選択します。
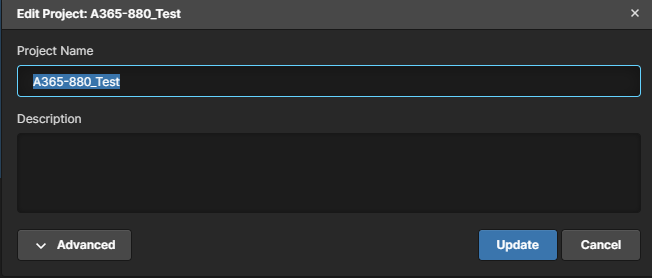
[Project Name] フィールドを編集して新しい名前を入力し、[Update] をクリックします。
これにより、プロジェクトサムネイルの名前と、変更が行われたタイムスタンプが更新されます。
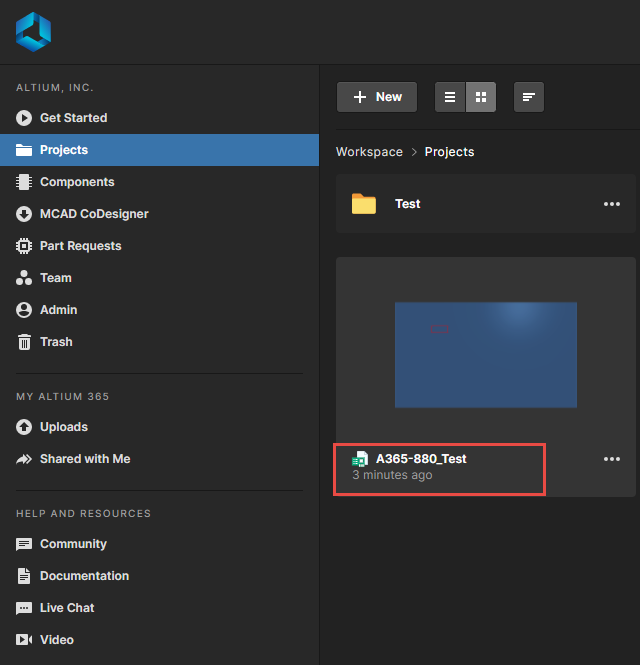
この時点で、マネージドプロジェクトのコピーをローカルドライブにチェックアウトすると、新しい Project Name が表示されます。
Altium Designer 20.2 以降では:
すでに以前の Project Name を使用してチェックアウトしたコピーがあり、その PCB プロジェクトファイル (*.PRJPCB) のファイル名が異なる場合はどうなるでしょうか? チェックアウト済みプロジェクトを直接開くと、別ウィンドウのポップアップで「Name of the project and project file are different」という警告メッセージが表示されます。これは、Altium 365 Workspace 上のプロジェクト名とローカルのプロジェクトファイル名が異なることを意味します。ここで次の 2 つのオプションが提示されます。
1 Use Server Name – ローカルプロジェクトファイル <OldProjectName.PrjPcb> を <NewProjectName.Prjpcb> にリネームする
2 Use Local File Name – サーバー上のプロジェクト名を <OldProjectName.PrjPcb> に更新する
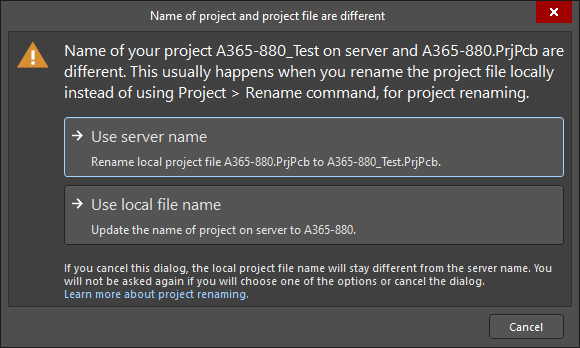
いずれかのオプションを選択すると、それに応じて変更が行われ、ローカルおよびマネージドプロジェクトの名前が同期され、混乱を避けることができます。
 AI で翻訳