
KB: Include Custom Text on the Home Page of Altium Enterprise Server
Solution Details
Adding Custom Text to the Altium Enterprise Server Login Page
Why Custom Text May Be Required
Companies may need to display legal disclaimers, consent notices, or internal communication messages on the login page to comply with internal policies or regulatory requirements.
Available Methods
You can add custom text using either of the following approaches:
- Option 1: Append the script directly to the bottom of the file.
- Option 2 (Recommended): Remove the closing
</div>tag and then append the script for better layout integration.
Step-by-Step Instructions
Option 1: Direct Script Insertion
1. Navigate to the following file path: C:\Program Files (x86)\Altium\Altium365\Views\Account2. Open LoginNexusServer.cshtml using Notepad++.
3. Scroll to the bottom of the file and paste the provided script without modifying any existing code.
4. Save the file.
5. Refresh the Altium Enterprise Server login page.
Note: The text will appear in the upper-left corner of the login page. You may adjust the color or styling as needed.
Option 2: Recommended Method
1. Navigate to: C:\Program Files (x86)\Altium\Altium365\Views\Account2. Open LoginNexusServer.cshtml in Notepad++.
3. Remove the final </div> tag from the bottom of the file.
4. Paste the provided script below the remaining content.
5. Save the file.
6. Refresh the login page to view the changes.
Note: This method allows for better placement and styling of the custom text. You can replace the third-row text and fourth-row link in the script to suit your needs.
<div class="form-group">
<div class="col-sm-12" style="color: white">
I've read & consent to terms in the agreement. From
<a href="https://www.altium.com/eula"> Consent </a> page.
</div>
</div> 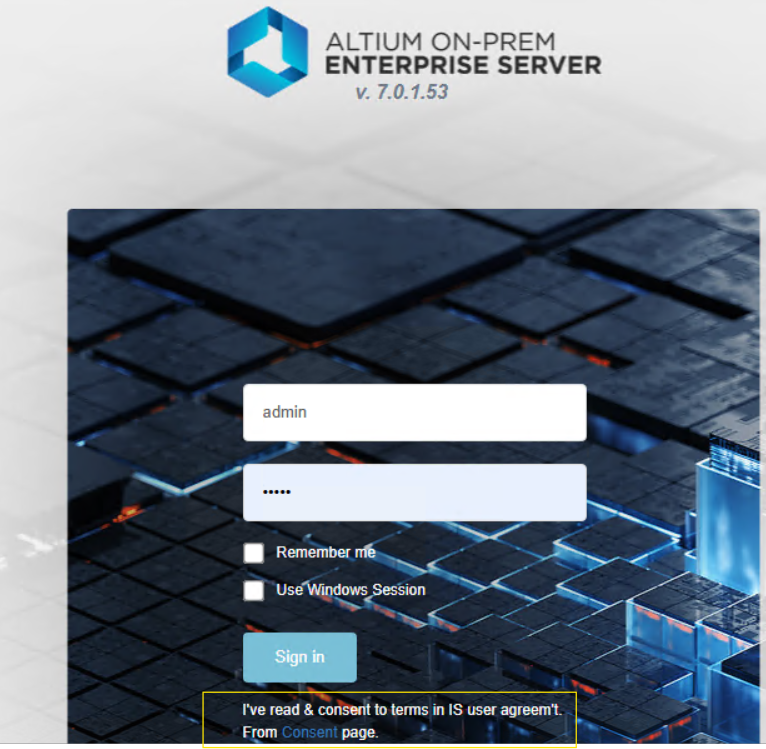
Additional Notes
- Always back up the original
LoginNexusServer.cshtmlfile before making changes. - Ensure that your changes do not interfere with the login functionality.
- Styling can be customized using inline CSS within the script.