Explorerパネルは、一度に1つのWorkspaceにのみ接続できます。パネル左上のフィールドには、現在アクティブなWorkspace(参照および変更が可能なコンテンツを持つWorkspace)が表示されます。別のWorkspaceを選択するには、Workspace名をクリックし、現在接続されているWorkspaceの中から別のWorkspaceを選択します。

参照対象Workspaceを変更するためのアクセス制御。
現在接続されているすべてのWorkspace(現在アクティブなWorkspaceと、Altium Designerのインスタンスに対する
Known ServersリストにあるWorkspace)は、
Preferencesダイアログの
Data Management – Servers pageに表示されます。
Explorerパネルには接続済みのWorkspaceがすべて一覧表示されますが、アクティブになるのは1つだけで、

アイコンが付与され、名前が太字で表示されることで区別されます。
Altiumアカウントにサインインしていて、Explorerパネルを開こうとしているものの、現在Workspaceに接続していない場合、パネルには既知のWorkspaceの一覧が表示され、そこから接続先を選択して、最終的にパネルの内容を表示できます。
Altiumアカウントにサインインしておらず、Workspaceにも接続していない場合は、パネルの内容を表示するために、Altiumアカウントでサインインするか、アカウントを登録するよう求められます。Sign inを選択するとSign In dialogが開き、Altiumアカウントにサインインできます。registerを選択するとAltium 365 registration pageにリダイレクトされ、そこで登録またはAltiumアカウント資格情報でサインインできます。
Looking for Altium Content Vault?ウィンドウ左上のLearn moreからContent Vault replaced with Manufacturer Part Searchを選択すると、Content Vault replaced with Manufacturer Part Searchダイアログが開きます。
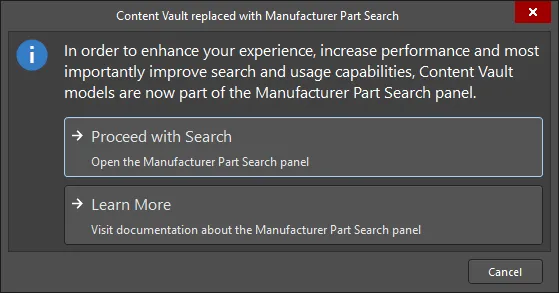
ダイアログの記載のとおり、Content Vault内のアイテムは現在、Manufacturer Part Search panelの一部になっています。Proceed with Search をクリックしてパネルを開き、必要なアイテムを検索してください。Manufacturer Part Searchパネルについては、Learn Moreをクリックすると確認できます。


 AI で翻訳