The Explorer panel can only interface to one Workspace at a time. The field at the top-left of the panel indicates the currently active Workspace – the Workspace whose content you will be able to browse and modify. To select a different Workspace, click on the Workspace name and choose a different Workspace from those currently connected.

Access controls for changing the browsable Workspace.
All currently connected Workspaces – the currently active Workspace and those from the
Known Servers list for your instance of Altium Designer – are presented on the
Data Management – Servers page of the
Preferences dialog. Note that in the
Explorer panel all connected Workspace will be listed, but only one will be active and is distinguished by the inclusion of the

icon, and its name in bold.
If you are signed in to your Altium account and are attempting to open the Explorer panel but you are not currently connected to a Workspace, the panel will present a list of known Workspaces, which you may choose from to connect and ultimately view the contents of the panel.
If you are not signed in to your Altium account nor connected to a Workspace, you will be asked to sign in with your Altium account or register one to view the contents of the panel. Select Sign in to open the Sign In dialog, where you can sign in to your Altium account. Select register to be redirected to the Altium 365 registration page, where you may register or sign in with your Altium account credentials.
The Content Vault replaced with Manufacturer Part Search dialog opens if Learn more is selected from the Looking for Altium Content Vault? window in the top-left corner.
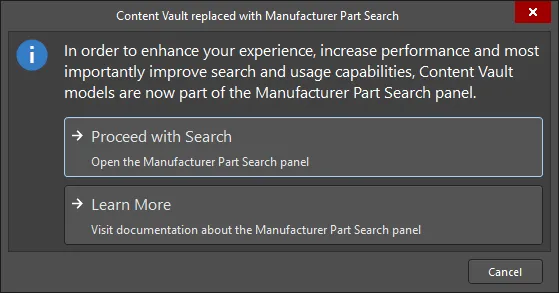
As the dialog states, items in the Content Vault are now part of the Manufacturer Part Search panel. Click Proceed with Search to open the panel and search for the required item. You can read about the Manufacturer Part Search panel by clicking Learn More.

