Explorer 面板一次只能与一个 Workspace 交互。面板左上角的字段指示当前活动 Workspace——也就是您能够浏览并修改其内容的 Workspace。要选择其他 Workspace,请点击 Workspace 名称,并从当前已连接的 Workspace 中选择另一个。

用于更改可浏览 Workspace 的访问控制。
当前已连接的所有 Workspaces——当前活动 Workspace 以及您这套 Altium Designer 实例的
Known Servers 列表中的其他 Workspace——都会显示在
Data Management – Servers page(位于
Preferences dialog)中。请注意,在
Explorer 面板中会列出所有已连接的 Workspace,但只有一个会处于活动状态,并通过包含

图标以及名称加粗来区分。
如果您已登录 Altium 账号并尝试打开 Explorer 面板,但当前未连接到任何 Workspace,则该面板会显示已知 Workspace 列表,您可以从中选择一个进行连接,并最终查看面板内容。
如果您既未登录 Altium 账号,也未连接到 Workspace,系统会提示您使用 Altium 账号登录或注册账号,以查看面板内容。选择 Sign in 将打开 Sign In dialog,您可在其中登录 Altium 账号。选择 register 将跳转到 Altium 365 registration page,您可在该页面注册账号或使用 Altium 账号凭据登录。
如果在左上角的 Looking for Altium Content Vault? window 中选择 Learn more,将打开 Content Vault replaced with Manufacturer Part Search dialog。
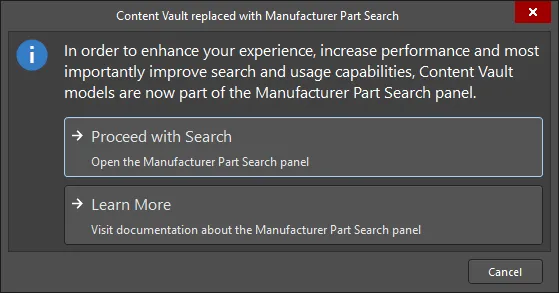
如该对话框所述,Content Vault 中的条目现已并入 Manufacturer Part Search panel。点击 Proceed with Search 打开该面板并搜索所需条目。您可以点击 Learn More 阅读关于 Manufacturer Part Search 面板的说明。


 AI 翻译
AI 翻译